Another choice is to use a legacy normal lens, some macro rings, and an adaptor. I write about this method here.
Yet another method is to reverse a lens. Using a cheap adaptor, you can mount a basic Lumix G 14-42mm f/3.5-5.6 kit zoom lens for some very close macro capabilities.
In this article, I look into yet another method. This involves getting an adaptor ring with filter threads on each side. This can be bought quite cheaply at various auction sites. I chose the 52mm to 52mm adaptor ring:

This reverser ring can be screwed into the front lens threads of the Lumix G 45-200mm f/4-5.6 tele lens. Other lenses with 52mm front lens threads can be used as well. However, I found that the Lumix G 14-42mm f/3.5-5.6 basic kit lens was useless for this purpose, it gave too much vignetting when mounting the reversed normal lens.
As the normal lens to mount reversed, I chose the Nikkor 50mm f/1.8 AIS. It is a classic manual focus lens, compact and with reasonably good quality. This video shows how to mount it:
It is best to set the normal lens at maximum aperture, to avoid vignetting. I also found that the Lumix G 45-200mm lens should be set to around 150-200mm for the best results.
Here is my test of the magnification rate using this setup. I photograph a millimeter ruler to find the magification:

And the resulting image shows that 5mm horizontally is reproduced, with a sensor that is 17.3mm wide. This gives a magnification rate of 17.3:5, or 3.5:1. This is also written as 3.5x, and is an extremely large magnification.

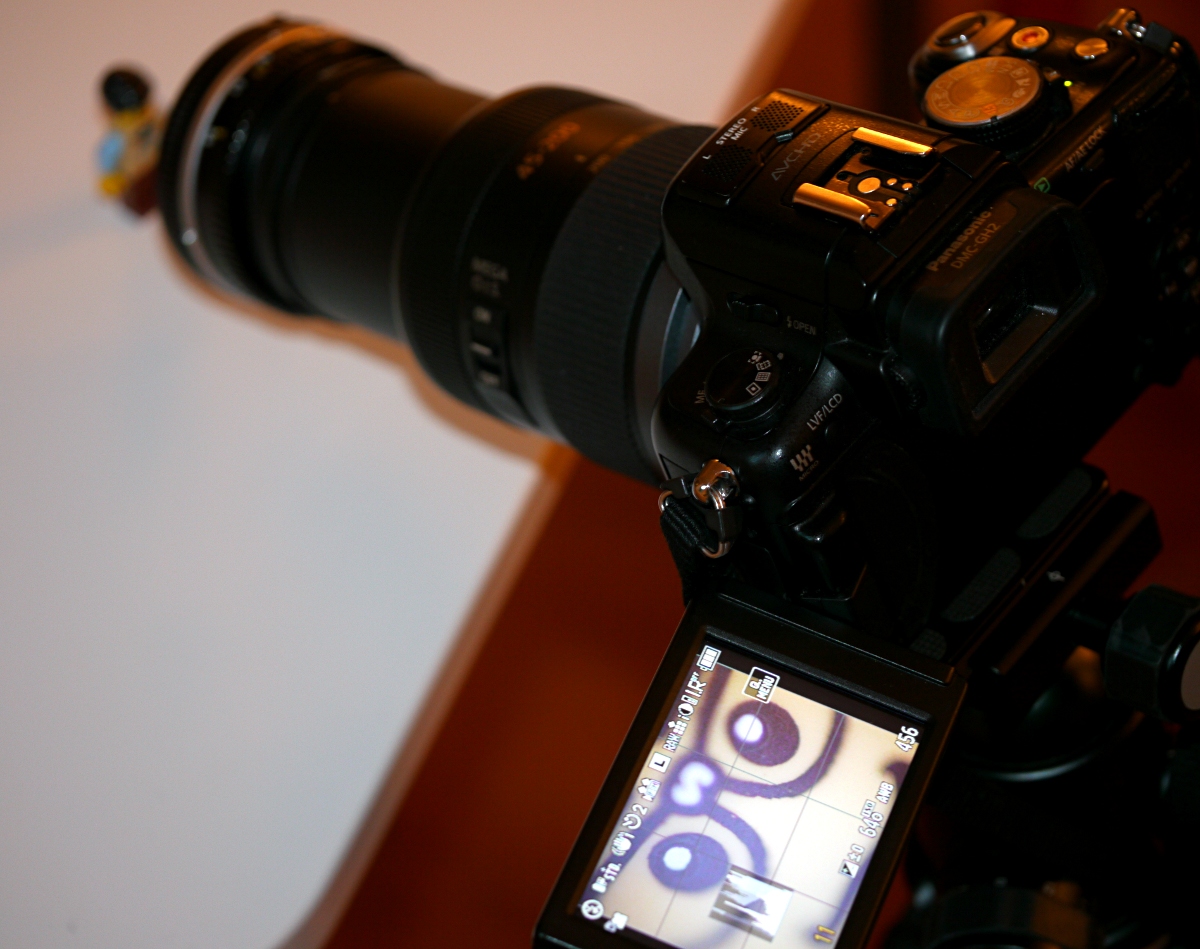
I also made an example exposure of the face of a LEGO figure. Here is the setup, with a working distance of around 5cm:
Which produced this image:

I used the very small f/16 aperture on the Lumix G 45-200mm f/4-5.6 tele lens, and still the depth of focus is extremely thin. Only parts of the curved face is in focus.
Using this method, you can still control the aperture from the camera. You can also operate the focus of the lens, although in practice you are limited to a very small fine tuning of the focus, because of the thin depth of focus at this extremely large magnification.
Example image
Here is an example image of the texture from a sock, taken at 3.5x magnification. This was done by setting the Lumix G 45-200mm lens at 200mm, with the normal lens attached to the front. I used f/18 for more depth of focus, but still the focus is very narrow, and it is difficult to get everything you want into focus:

This magnification is of course very impressive, but one could ask: Could you achieve the same details by using the Panasonic Leica 45mm f/2.8 1:1 macro lens, and cropping out the centre of the image? I tried to photograph the same object using the PL45, and this is the maximum magnification I could achieve. I also used f/18 here:

To evaluate the amount of details from either setup, here are 100% crops from the centre of both images. The images have not been sharpened. Click on the images for the full view.
| 200mm + reversed normal lens, centre crop | PL45, centre crop |
Based on this comparison, it is clear that using the reversed normal lens does give a higher resolution than simply using the PL45 macro lens. However, the image quality suffers a bit due to the number of glass elements the light must travel through.
Summary
Here is a summary of various ways to achieve a macro ability:
| Method | magnification | working distance | aperture | focus |
| Using a dedicated macro lens, the PL45 | 1:1 max | 6cm | auto | auto |
| Macro extension rings, and a legacy normal lens | 1.4:1 in my example | 6cm | manual, if the lens has an aperture ring | no focus possibilty |
| Macro reverser ring, with Lumix 14-42mm | 2.5:1 - 1.15:1 | 2-4cm | no control of aperture from camera | no focus possibilty |
| Olympus ZD 50mm f/2 lens with extra 65mm extension | 2:1 | 3cm | no control of aperture from camera | no focus possibilty |
| Lumix G 45-200mm with reversed normal lens (this article) | 3.5:1 | 5cm | auto | auto, but only small adjustments |
Based on this table, we see fairly easily that this method is in fact preferable, given that we need such an extreme magnification rate. It gives a good working distance, and automatic aperture handling, which is quite useful. There is also some possibility for fine tuning of the focus using the lens' own autofocus system.
this is an interesting method. i've also written something related to this but using a "close-up" filter: http://odnalor.org/wp/2012/06/04/micro-43-macro-for-cheap.html
ReplyDeletehere are more sample images using this method:
http://www.flickr.com/photos/rpamparo/tags/closeup/
Stacking lenses like this is often my first choice for macro. It can have problems with some lens combinations though.
ReplyDeleteIt's probably worth adding that the magnification acheived is roughly the focal length of the forward lens divided by the focal length of the reversed lens. So the (55mm?) lens you used here should give near 1x on the kit zoom. Working distance is generally fairly constant throughout.
I came across this blog today, trying to do extreme macro using a G95. In the past, I worked with an APS-C camera with which I tried all kinds of macro techniques except for using teleconverters, along with a 60mm macro lens which had a native magnification of 1x. I added 26mm extension to the 60mm, along with a 10x diopter; the results did not disappoint, although I don't recall the exact magnification (something like 2.5X). I got a G95 now and was wondering if I should try something else for getting to 3x, or at least, to about 2.5X.
ReplyDelete